17th August 2017
See the Light! How to take better photos with your smartphone
My top tips on how to take better photos with your smartphone…
I think everyone should have a ”proper” camera, but a good photo is a good photo, regardless of the gear used to take it. Smartphones have come on so much that they now have some great strengths and weaknesses. Here are some top tips of mine to keep in mind when loading up the photo app on your iPhone, Android or whatever. Now you will know how to take better photos with your smartphone!
1. Where’s The Light?
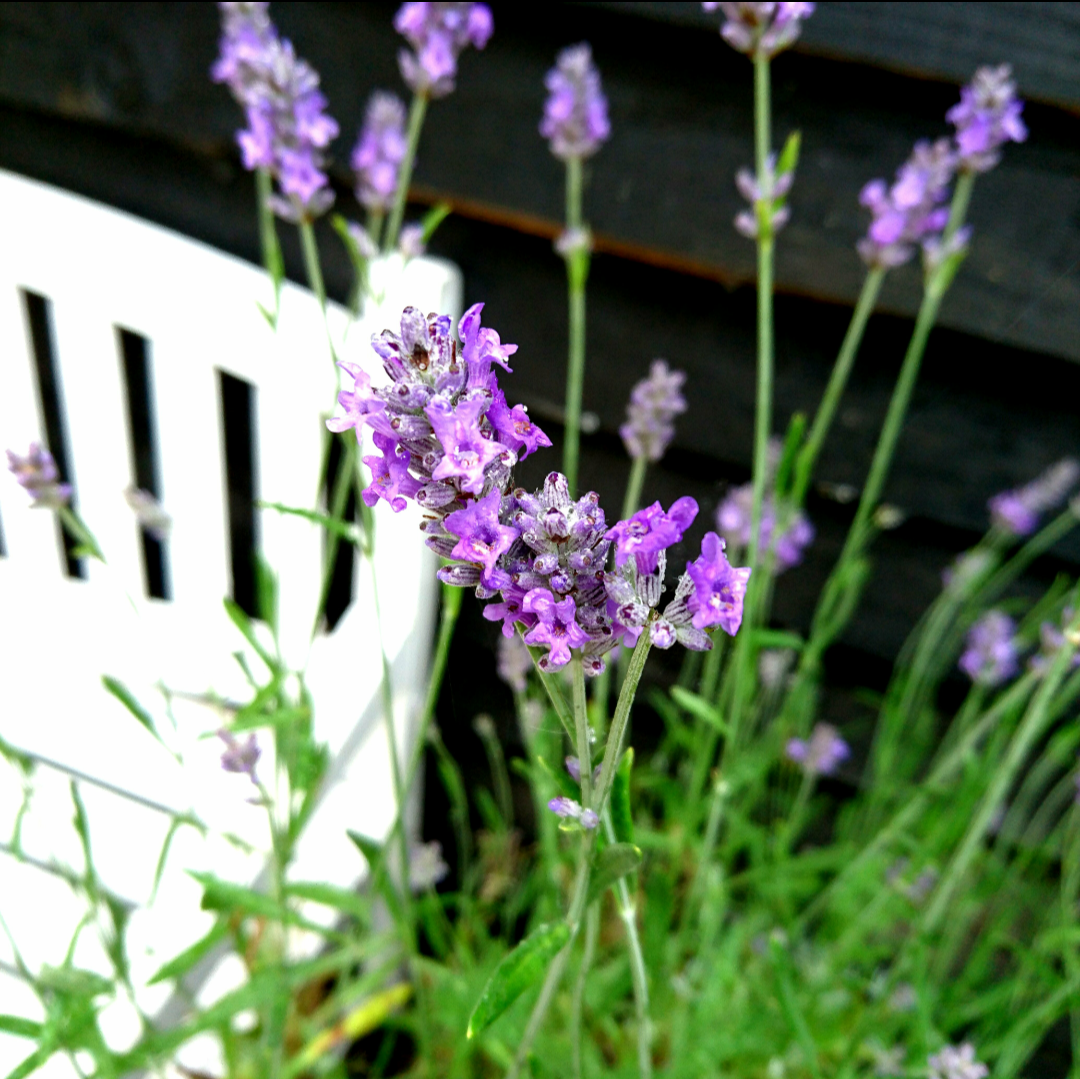
A crucial part of any photography is to look at where your light source is, be it natural or from artificial lighting. If you have a light coming from behind and it’s not working, try and turn your subject around to see if that makes a difference. Don’t give up with the shot, practice makes perfect!

2.Keep Your Lens Clean
Your pocket isn’t the only place your lens is likely to pick up dust.
Your pocket is not a clean place, and the dust that lives within loves to stick onto your smartphone camera lens. The result are hazy, dark images that won’t look good no matter how many retro filters you slap on them.
The lenses are now remarkably tough, so giving them a quick wipe with a soft cloth can’t hurt (and your t-shirt will do OK in a pinch, but try not to make a habit of it).
3.Watch The Lens Flare

Lens flare costs you detail, contrast, and color accuracy. Sometimes it works. Sometimes it destroys the image.
But, this can actually work for you if you do it the natural way. The tiny lenses are often more prone to interesting light effects than their full-sized counterparts, so you can really play it up if you want to. A silhouette with a bright, flaring background can actually look very stylish.
If you want to control the flare in your shot, move the sun (or whatever bright light source is causing the refraction-based mayhem) around in the frame. As you get closer to the edge, you’ll often see the flare spread out and become more prominent.
You can also cup your hand around the lens in order to make a DIY lens hood, which will cut down on the amount of flare if the light source happens to be out to the side of the frame. It may even be able to get rid of it all together.
4.Don’t Add Fake Blur
Depth of field will always be one of the biggest challenges for a smartphone camera. Wide angle lenses and tiny sensors make any substantial background blur difficult to achieve. But faking it almost always makes things worse.
First, blur added with an editing app is usually applied uniformly across most of the frame. That’s not the way a lens works, so it looks unnatural.
If you want the viewer to focus on one specific thing, make it the central object in the frame. Try to keep your backgrounds as simple as possible, even if it means asking your subjects to turn around or move a few steps back. It’s worth it.
5.Ditch The Flash

Yellow skin, demon eyes, and motion blur. Check, check, and check.
The problem with many smartphone flashes is that they don’t actually, well, flash. They’re glorified LED flashlights, thrust into a duty they’re not fully prepared for. They are bright, but the color temperature can be gross and they miss one of the primary duties of a strobe: freezing the action in the frame. The actual “flash” duration is much too long, so you end up with an image that’s both blurry and terribly-lit. Not to mention how close it is to the lens, which makes those horrible demon eyes almost a given.
So, what do you do in the dark, then? Often, your best bet is to seek out another light source. It likely won’t be perfect or even flattering, but it can be interesting. In a dark bar? Look for a neon sign or a bright juke box. At a concert? Wait until one of the wacky swinging stage lights makes its way over to your area. Photography is about creativity after all.
6. Don’t Zoom, Crop
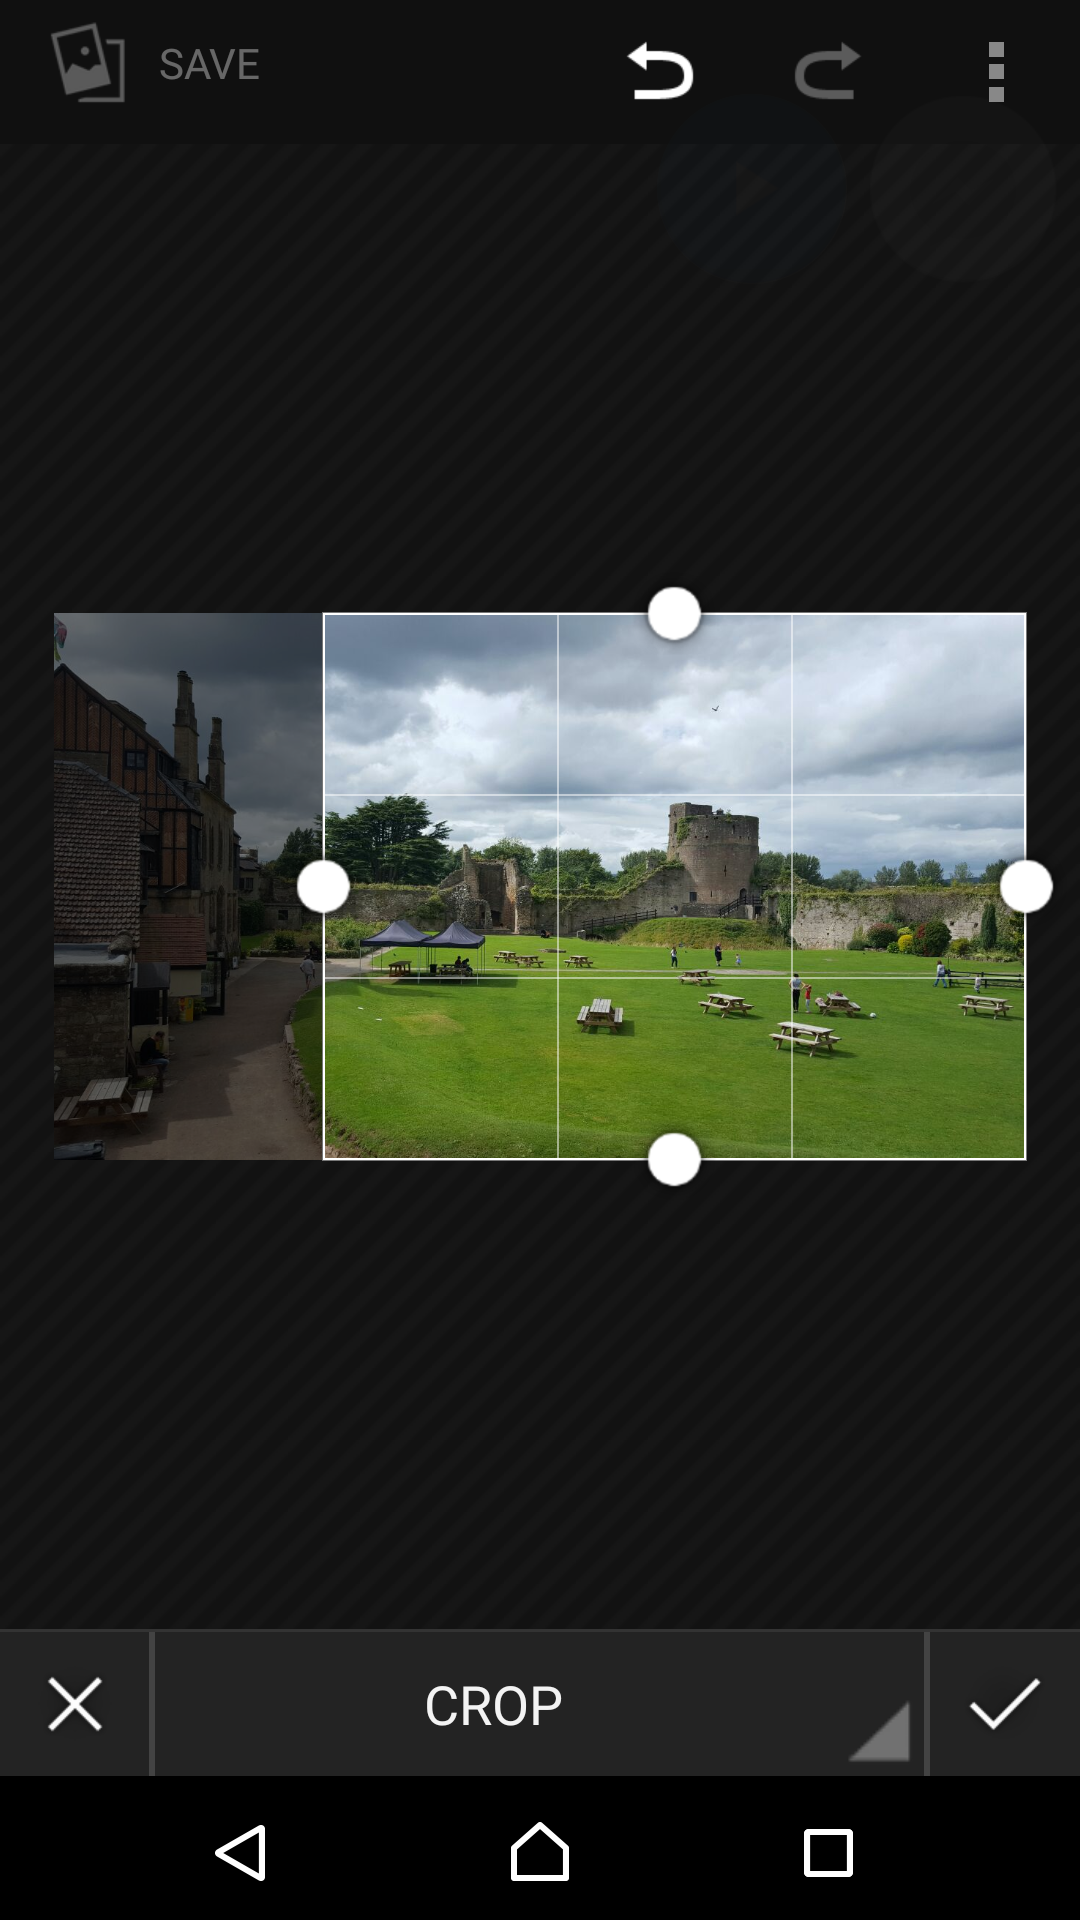
When you zoom to get a closer perspective, much of the fine detail gets lost. Always crop after taking a photo as this way you preserve the original detail.
Most smartphone cameras offer a digital zoom function, but its almost always best to pretend it doesn’t exist. This is because you’ll be able to see how noticeably your images degrade the second you start to zoom in. The camera is simply taking what’s already there and basically guessing what the image should look like.
When you’re cropping, however, you’re actually just sampling pixel info that was actually recorded. Most Smartphones have 12-megapixels of resolution and sometimes more. That means you can crop substantially and still have plenty of resolution left for display on social media.
7.Don’t Filter, Edit

If you want your images to be unique, the last thing you should do is paint them with the same filters that literally millions of other people are using.
I suggest getting a image editing app like Snapseed, Photoshop express, or iPhoto. They’ll let you make adjustments, like contrast, sharpness, and colour temperature. The stuff you’d actually do with images from your big camera.
8. Make Prints
Several services like Blurb will make your mobile photos into a book.
There’s a disconnect that exists between digital and analog photography at the moment. Many photo enthusiasts barely make prints anymore, if at all. Putting photos to paper makes them tangible and take away some of the assumptions people often make when looking at photos online.
It sounds a bit crazy, I know, but I’ve found it to be true. Give it a try. Chances are, if the photo is good, you’ll get the whole “you took this with your phone?” reaction that you’re looking for. Please let me know if this helped you to learn how to take better photos with your smartphone.
Thanks so much for stopping by to read my blog! If you or anyone you know would like to have Wedding photography, or a portrait shoot for yourself, your business or your family, please Contact Me as I’d love to know how I can help you.

Leave a comment